PL PLUS Directions/Information
Thank you for your interest in GameGrade's Pitch Locator.
*NOTE: Do not turn your device off until you have uploaded ALL pitches. iPad/iPod must have WiFi access for upload.
Directions for the PL 2.04
When preparing for a game, fire up the Pitch Locator and be sure you’ve cleared any previous game info and the Locator is now set on the Lead-off hitter and in the first inning.
Remember, offensively, this Locator will automatically keep hitting order and count. Any other information you are interested in tracking will need to be added.
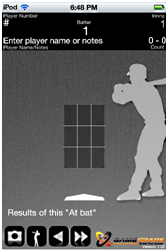
To add a hitter’s name, number or when you need to change the inning number, simply touch the area and your keyboard will pop up for you to type the changes or additions.

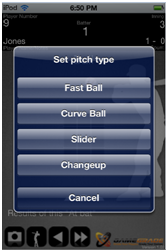
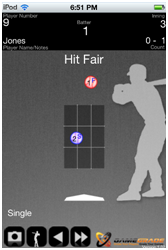
After the pitch, simply touch the screen in the location at which the catcher received the pitch, as well as, the umpire’s ball or strike call. Once you touch the screen, the baseball will be placed in that area along with the number of pitch it was. Immediately following, you will have the option of choosing a pitch type.
And the hit type:
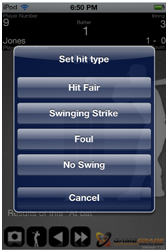
In this example, the pitcher threw a high fastball as his/her pitch and the hitter swung and missed.
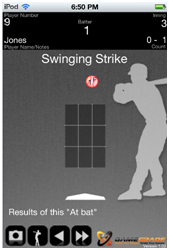
Repeat this process with every pitch.
When the at-bat is finished, you can record the result.
In the following example, the data shows the hitter hit the second pitch of the at-bat. The pitch was a slider on the middle to outer part of the plate. The hit was a Single as noted on the Locator.
You can add even more detail to your data by showing WHERE the ball was hit. To do so, simply use baseball shorthand following the result of the play.
Example: Using the illustration above, if the single was hit to right field, you could simply input-
Single 9
OR
1B 9
This indicates the batter hit a single to right field.
Now, you can move on to the next hitter, next inning, or upload the pitches to your account.
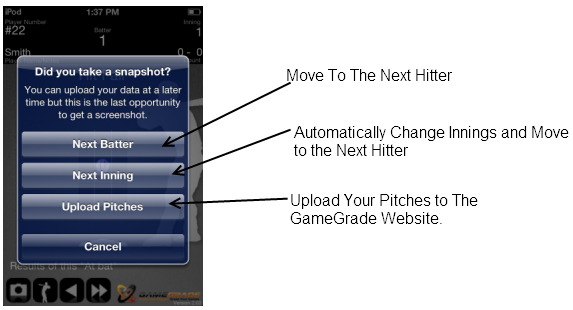
Before you move to the next hitter, next inning, you will be reminded to take a snapshot to save your data.
To take a snapshot, simply touch the camera in the lower left corner and the data is then stored in your photos. At the end of the game, you can upload your snapshots and organize them on a document by inning, game order or batter position.
If you choose to not take a snapshot, you can still move on to the next batter, next inning or upload the pitches you have already recorded.
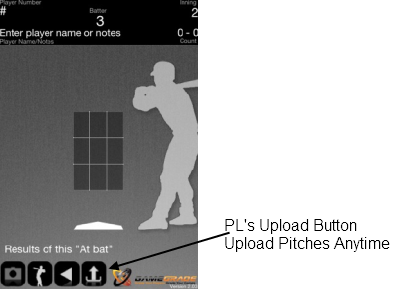
If you have decided to move on the the next hitter or next inning, rest assured you can still upload your pitches at any time. Simply press the PL Plus upload button and you are on your way to uploading pitches to your account at www.mygamegrade.com.
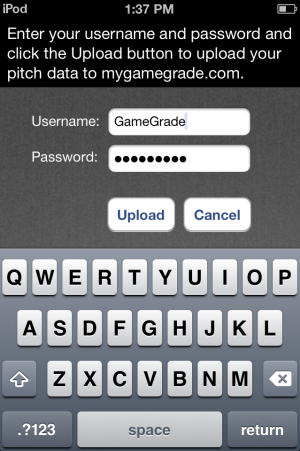
When you are ready to upload and have pressed the GameGrade upload button, your data will be sent to the GameGrade account you choose.
You can upload your pitches to a coaches account, a team account or a player’s account. Whichever works for you and your players.
You will notice on your MyPage BEFORE uploading any pitches, your left menu will look something similar to this:
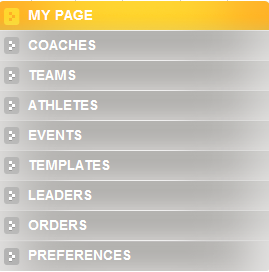
'Pitches' is not an option as you have no pitches uploaded.
Once you upload pitches, your left menu will look similar to this:
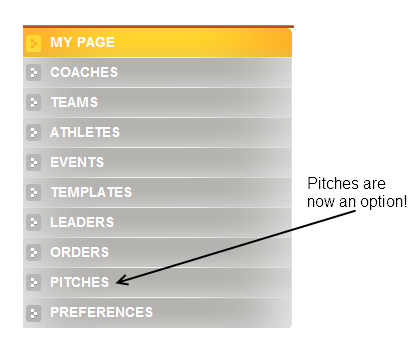
Now, when you're ready to view your pitches, simply click on the 'Pitches' link and you will be taken to your Pitches Page!
Once your pitches are uploaded, you can begin organizing your data.
Free Accounts allow you to roll through each at-bat.
Personal Accounts allow you to filter your data.
Optimal Accounts allow you full access of the PL+ and all it's advantages!